Workouts / 3 min read
How to Use a Chest-Supported Row in a Beginner Workout
A chest-supported row is a beginner-friendly way to practice a horizontal pull. Learn how to set up the machine or incline bench, choose a manageable load, and add a few controlled sets to a workout.
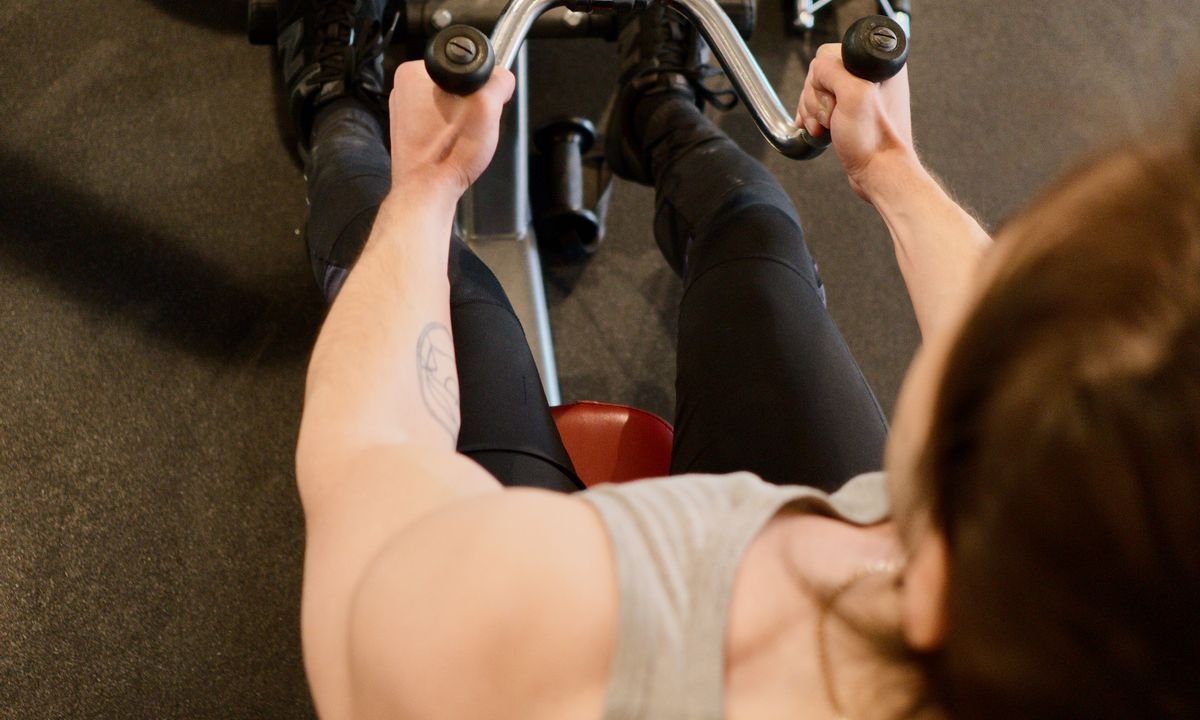
A chest-supported row trains a pulling movement with your chest resting against a pad or incline bench. Set the support so you can reach the handles or weights without shrugging, then row toward your lower ribs while keeping your torso in contact with the pad. Start light: try 2 sets of 8–12 smooth repetitions, stopping while you could still do a few more with good form. The set and rep suggestion is a practical starting point, not a research-mandated formula.
Set up the chest-supported row
On a machine, adjust the seat so the handles are within reach and the pad supports your chest without pressing uncomfortably into your neck or abdomen. On an incline bench, lie face down with your feet planted and hold a pair of light dumbbells. If you cannot reach the weights comfortably or feel stable, adjust the bench angle or use a machine instead.
Begin with arms extended and shoulders relaxed. Pull your elbows back, bringing the handles or dumbbells toward your lower ribs. Let your shoulder blades move naturally; you do not need to force them pinched together before every repetition. Lower the weight under control until your arms are extended again. Keep your chest against the support rather than lifting your torso to finish a rep.
A laboratory comparison of rowing exercises examined muscle activity and spinal loading, but it did not establish a universal beginner setup or prove that one row is best for everyone. Use the support as a way to keep your position steady—not as a reason to use a load you cannot control. Study details on PubMed.
Add it to a beginner workout
Place the chest-supported row after a larger exercise if that exercise is a priority, or use it as your main back-pulling movement. Rest until you feel ready to repeat controlled reps; there is no need to rush between sets. During your first sessions, focus on a repeatable range of motion and a load that does not make you twist, bounce, or shrug to move the weight.
| Workout moment | Practical example |
|---|---|
| First session | 1 light practice set, then 2 sets of 8–12 reps |
| Next sessions | Keep the same load while you improve control |
| When all reps feel steady | Add the smallest available weight increase, or build reps gradually |
These are practical suggestions, not findings from a trial specifically testing this beginner plan. If the machine is occupied, ask whether you can work in between sets or choose another row variation; keep the replacement comfortable and controlled. To make gym sessions more social, you can use Actively to find nearby workout partners and active friends.
Stop the set if you feel sharp pain, numbness, or discomfort that worsens as you continue. If you have an injury or a health concern that affects lifting, ask a qualified clinician or fitness professional about suitable options. For an optional video reference, Jeff Nippard has a video titled “A Better Way To Do Rows”; this is further reading, not a substitute for individualized coaching: YouTube video.
Sources & further reading
- Comparison of different rowing exercises: trunk muscle activation and lumbar spine motion, load, and stiffness — PubMedChecked October 29, 2026
- Jeff Nippard: A Better Way To Do RowsChecked October 29, 2026
Prepared with AI assistance by Actively Editorial. Read our sourcing and corrections policy. General educational information; individual needs vary.